01
ANGELCAM + APIFY
Capture the view
The Apify snapshot Actor retrieves an image from your Angelcam-connected camera.



Capture with Apify. Review on a schedule with Claude, ChatGPT, or Grok Bot.
HOW IT WORKS
Angelcam and Apify bring your camera snapshots to Claude, ChatGPT, or Grok Bot. Set up the check once, then automate it on your schedule.
ANGELCAM + APIFY
The Apify snapshot Actor retrieves an image from your Angelcam-connected camera.
APIFY MCP
Give Claude, ChatGPT, or Grok Bot access to your saved runs and snapshot results.
CLAUDE · CHATGPT · GROK BOT
Ask your assistant to check the image, explain what it sees, and record the result.
SCHEDULED WORKFLOW
Schedule capture in Apify and configure recurring AI review—every five minutes, or at your chosen interval.
Recurring AI review needs a configured workflow alongside the Apify capture schedule.
SEE THE QUESTION BEHIND THE SNAPSHOT
Explore 12 camera checks, from free parking and landmark queues to gates, guest counts, stable observations, and property checks.
 Free parking spot
 Site safety & PPE
 Daily site report
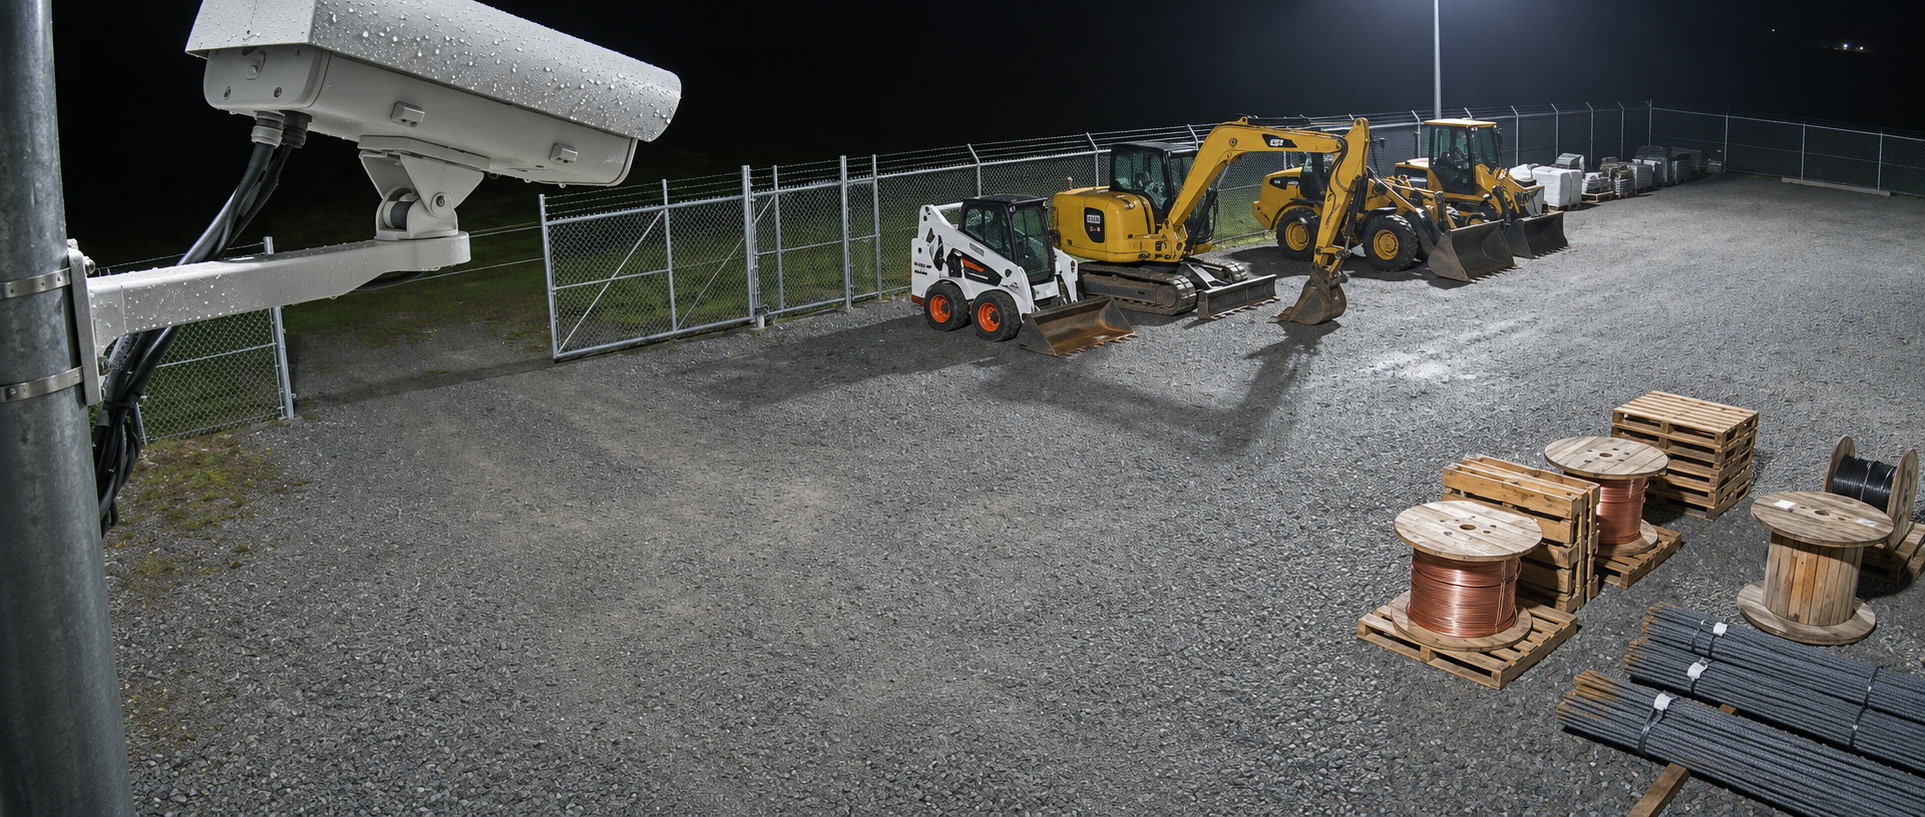 Overnight yard check
 Retail shelves
 Landmark queue
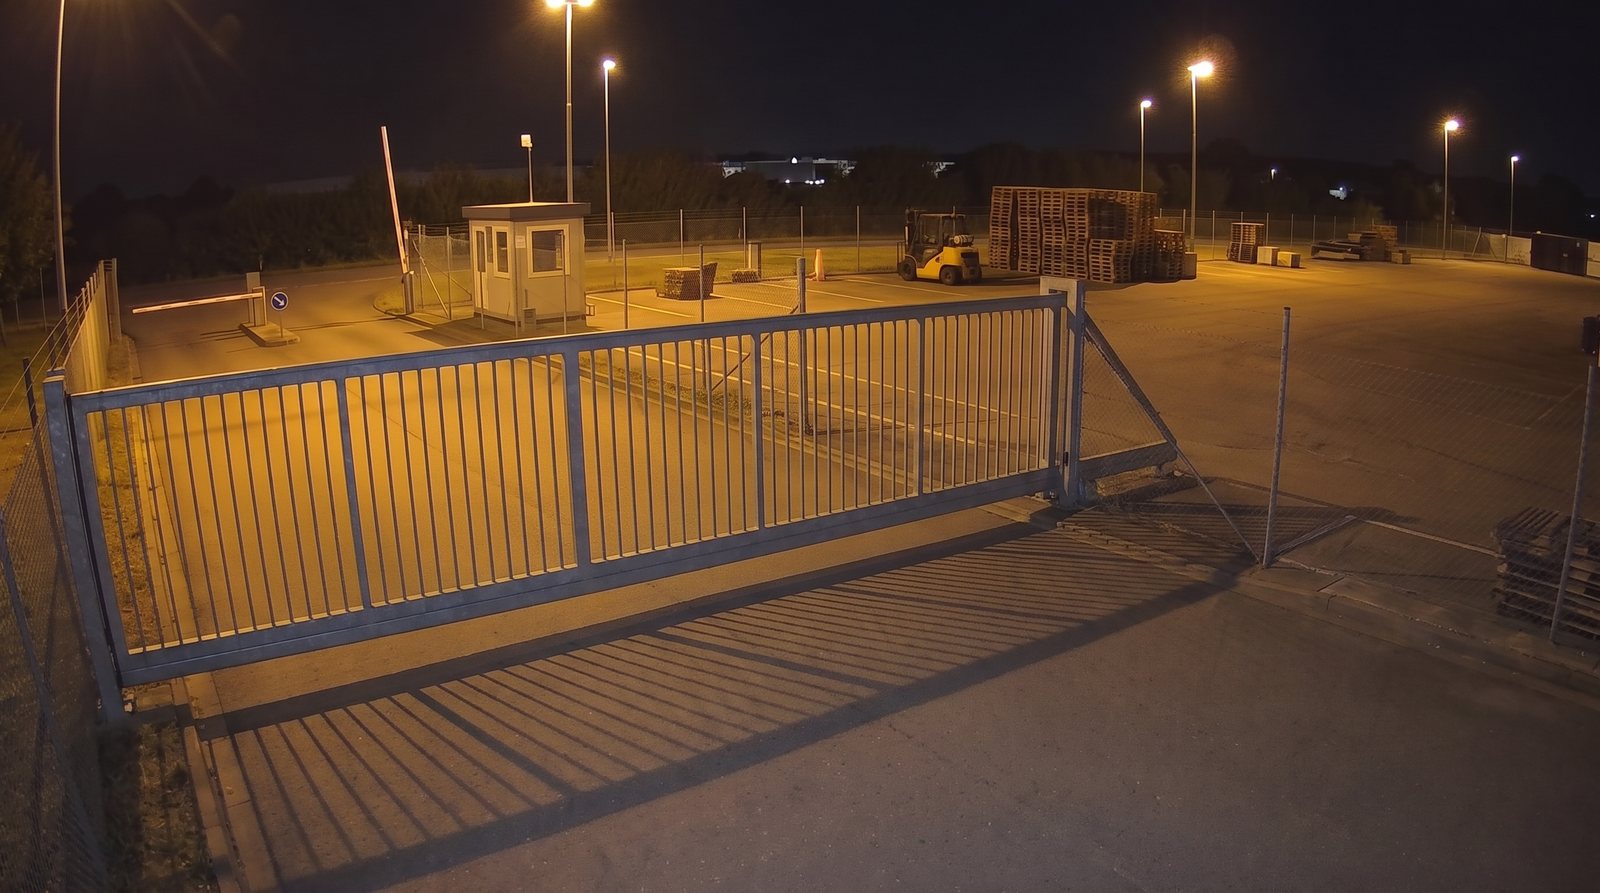 Gate check
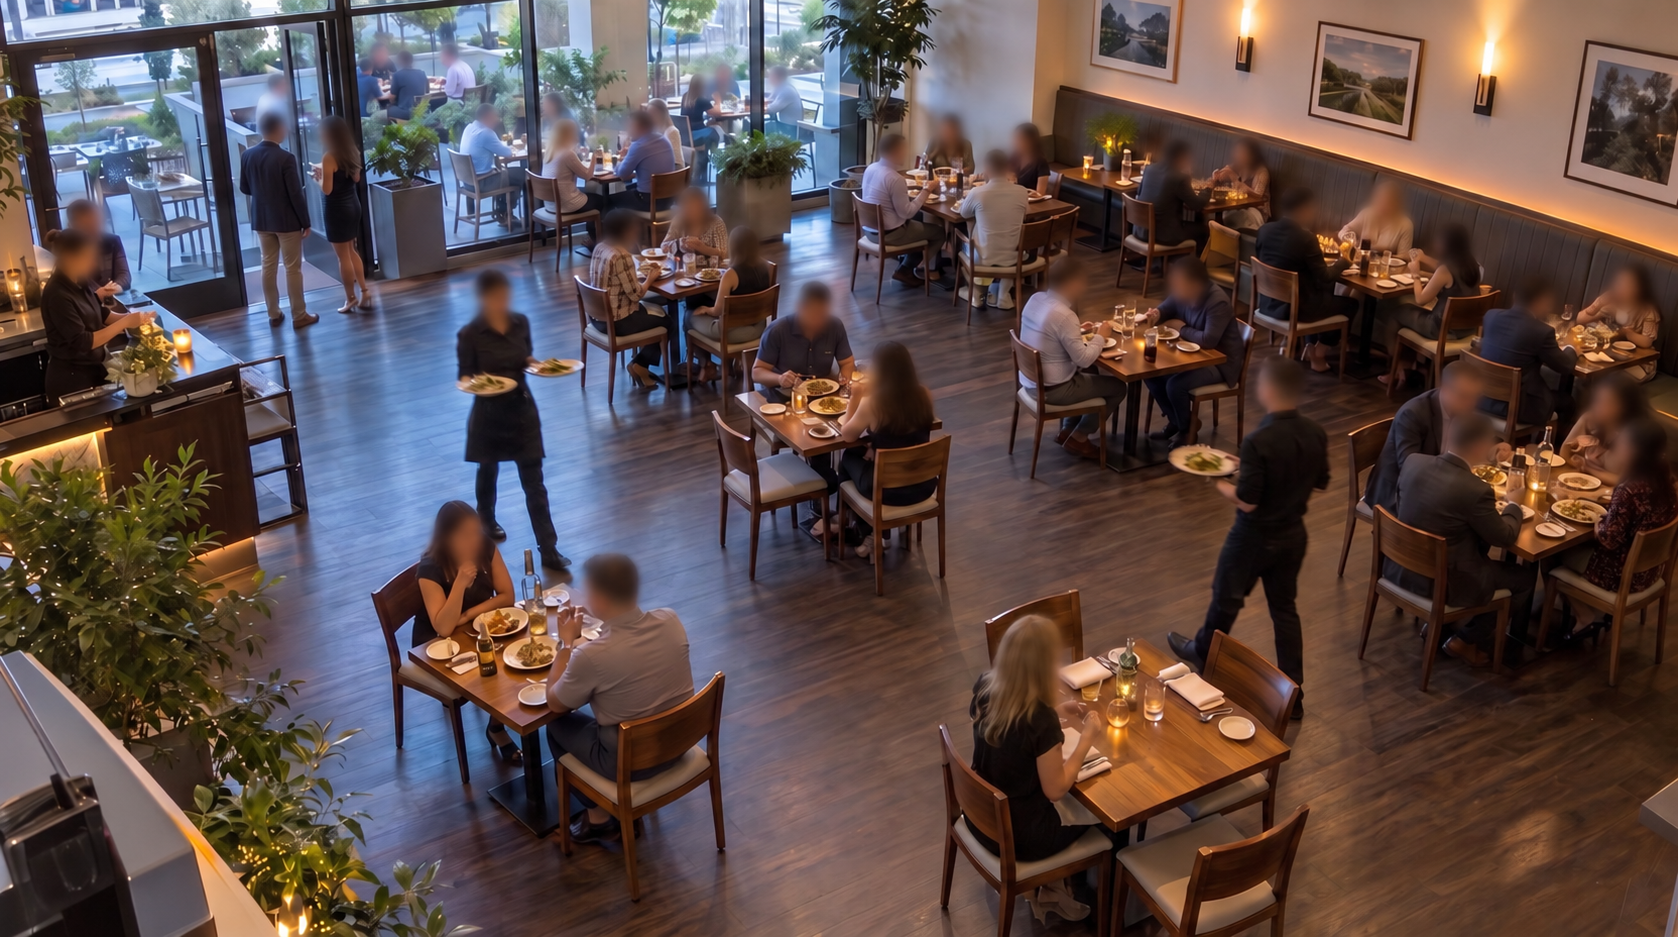 Restaurant occupancy
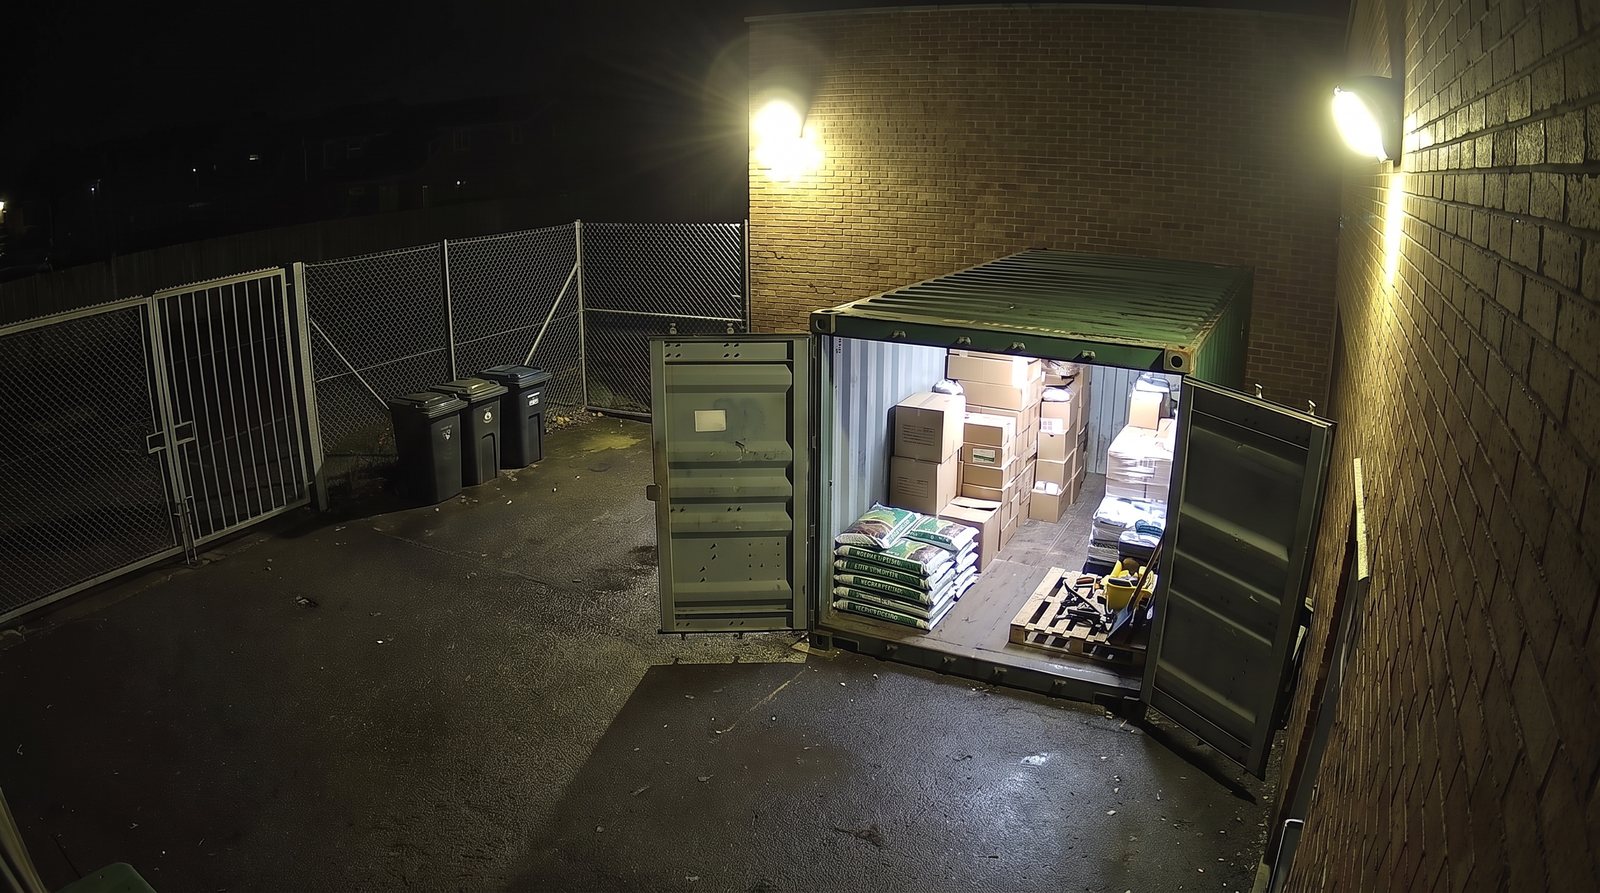 Container doors
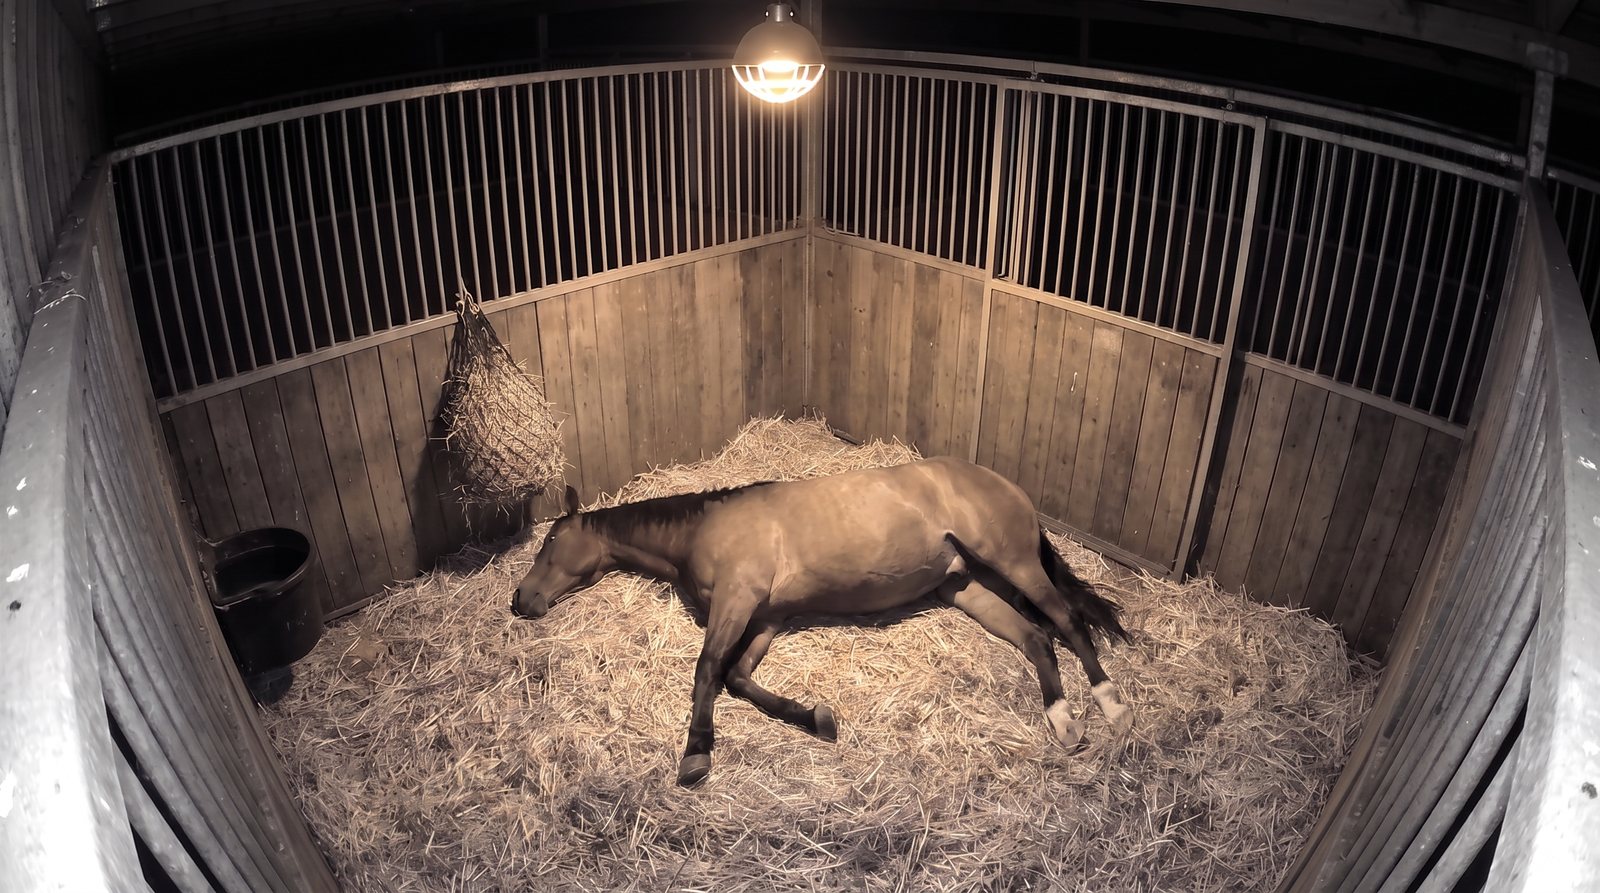 Horse posture
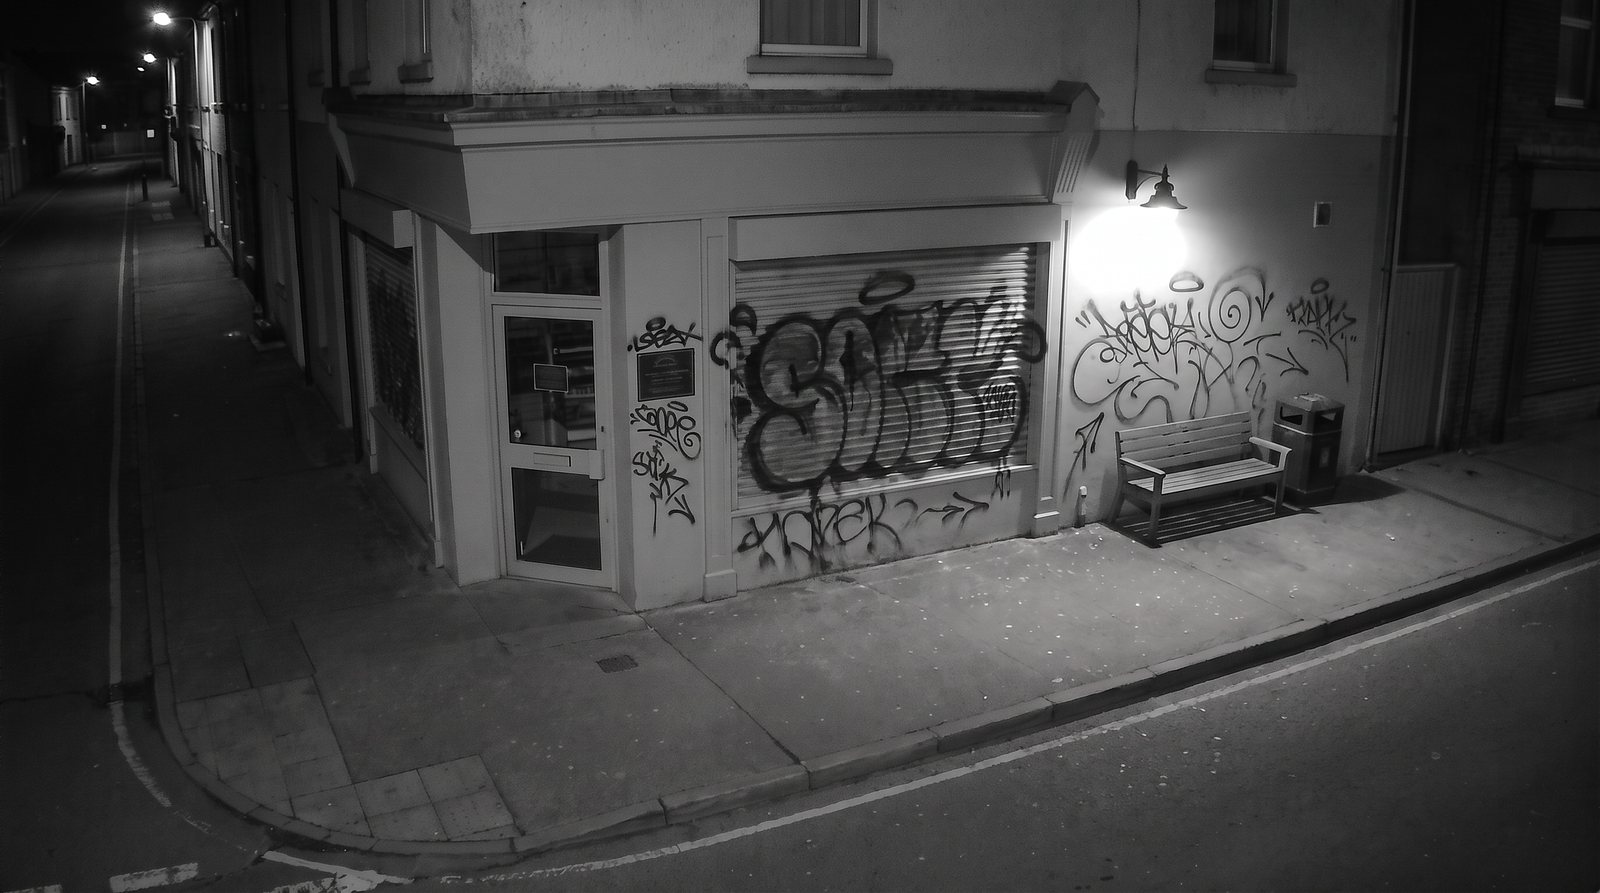 Shopfront changes
 Waste beside bins
WHAT HAPPENS WHILE YOU’RE AWAY
Apify captures a snapshot every five minutes. Your configured Claude, ChatGPT, or Grok Bot workflow reviews it and records the result.
Illustrative results. Automatic review requires a configured AI workflow alongside the Apify capture schedule.
CHATGPT · CLAUDE · GROK BOT
Connect ChatGPT, Claude, or Grok Bot to Apify. Use the same Angelcam snapshots and questions, with a connection path for each assistant.
Open Angelcam Live Snapshot on Apify. In its input form, choose Connect with Angelcam. Sign in, approve access, then copy the returned credential into the Actor’s designated input field.
Use the Actor’s own instructions for the exact fields. Keep credentials inside the Actor configuration; don’t paste them into an AI conversation.
Open the Angelcam snapshot Actor ↗Select a camera and start the Actor. Wait for a successful run, then open its output and the actual image. Check the camera name and image timestamp before continuing.
Save the working input as an Apify task, with a recognizable name such as “Construction site snapshots.” Use a live-frame capture option when the Actor offers one and you need a fresh view.
In Apify Console, open Schedules, create a schedule, and add your saved task. Set the frequency, choose your local time zone, and enable it. Check that its first scheduled run succeeds.
This example only previews the timing. Set the real schedule in Apify. Actor usage and storage depend on your plan.
Choose ChatGPT, Claude, or Grok Bot and follow its connection steps above. For ChatGPT and Claude, use the MCP URL below to request Actor, run, storage, task, and schedule tools. In Grok Bot, add the Apify plugin and authorize your account; check that it exposes the tools your workflow needs.
https://mcp.apify.com?tools=actors,docs,runs,storage,tasks,schedulesCopy URLIn ChatGPT or Claude, enable the Apify connection in your conversation. In Grok Bot, start the task with @apify. Ask for your saved task and latest successful run, and review requested tool permissions before changing a schedule.
Read the ChatGPT connection guideAsk ChatGPT, Claude, or Grok Bot to read the run output, retrieve the snapshot, and evaluate the visible scene. If it cannot load the image through MCP, download the JPEG from Apify and attach it to the chat. A dataset row or image URL alone is not visual evidence.
Find my latest successful Angelcam snapshot task run in Apify. Check the camera and capture time, then load the actual image. If you cannot see it, ask me to attach it. Describe what is visible and what needs my attention. Separate observations from uncertainty.Copy promptANGELCAM → APIFY MCP → CHATGPT
Apify MCP gives ChatGPT a connection to your saved camera runs and snapshot results. Ask about your site, and let ChatGPT retrieve the latest view through Apify.
Use ChatGPT web with custom MCP access. Availability depends on your account and workspace. If ChatGPT can retrieve the result but cannot load the image, attach the snapshot as a fallback. Connection requirements.
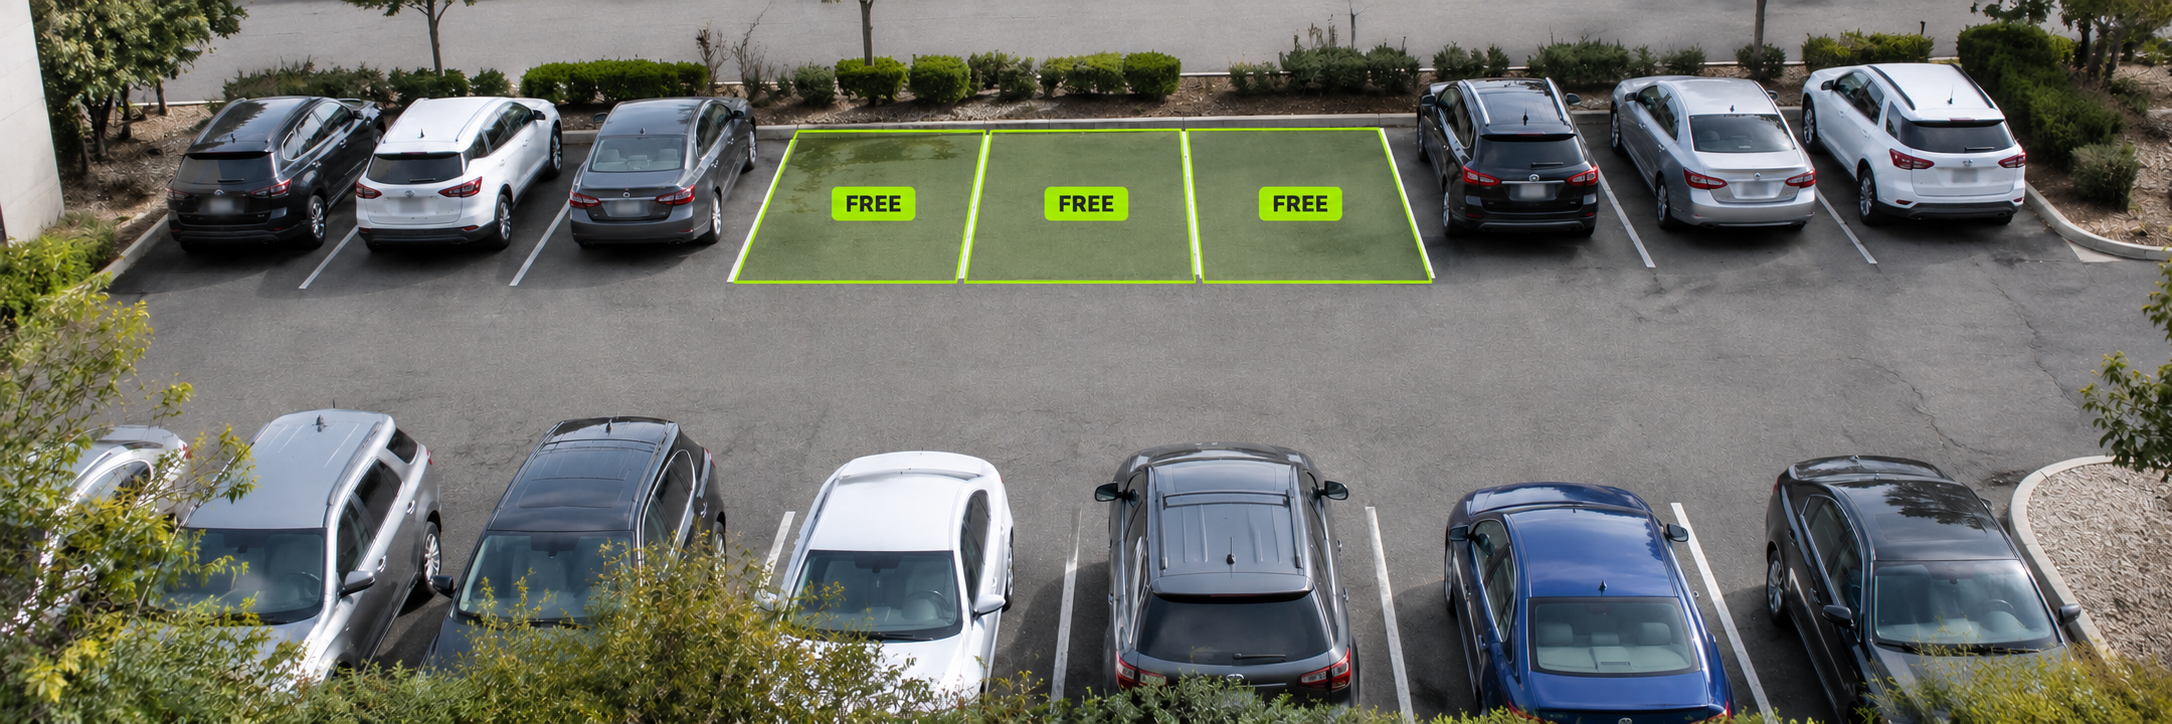
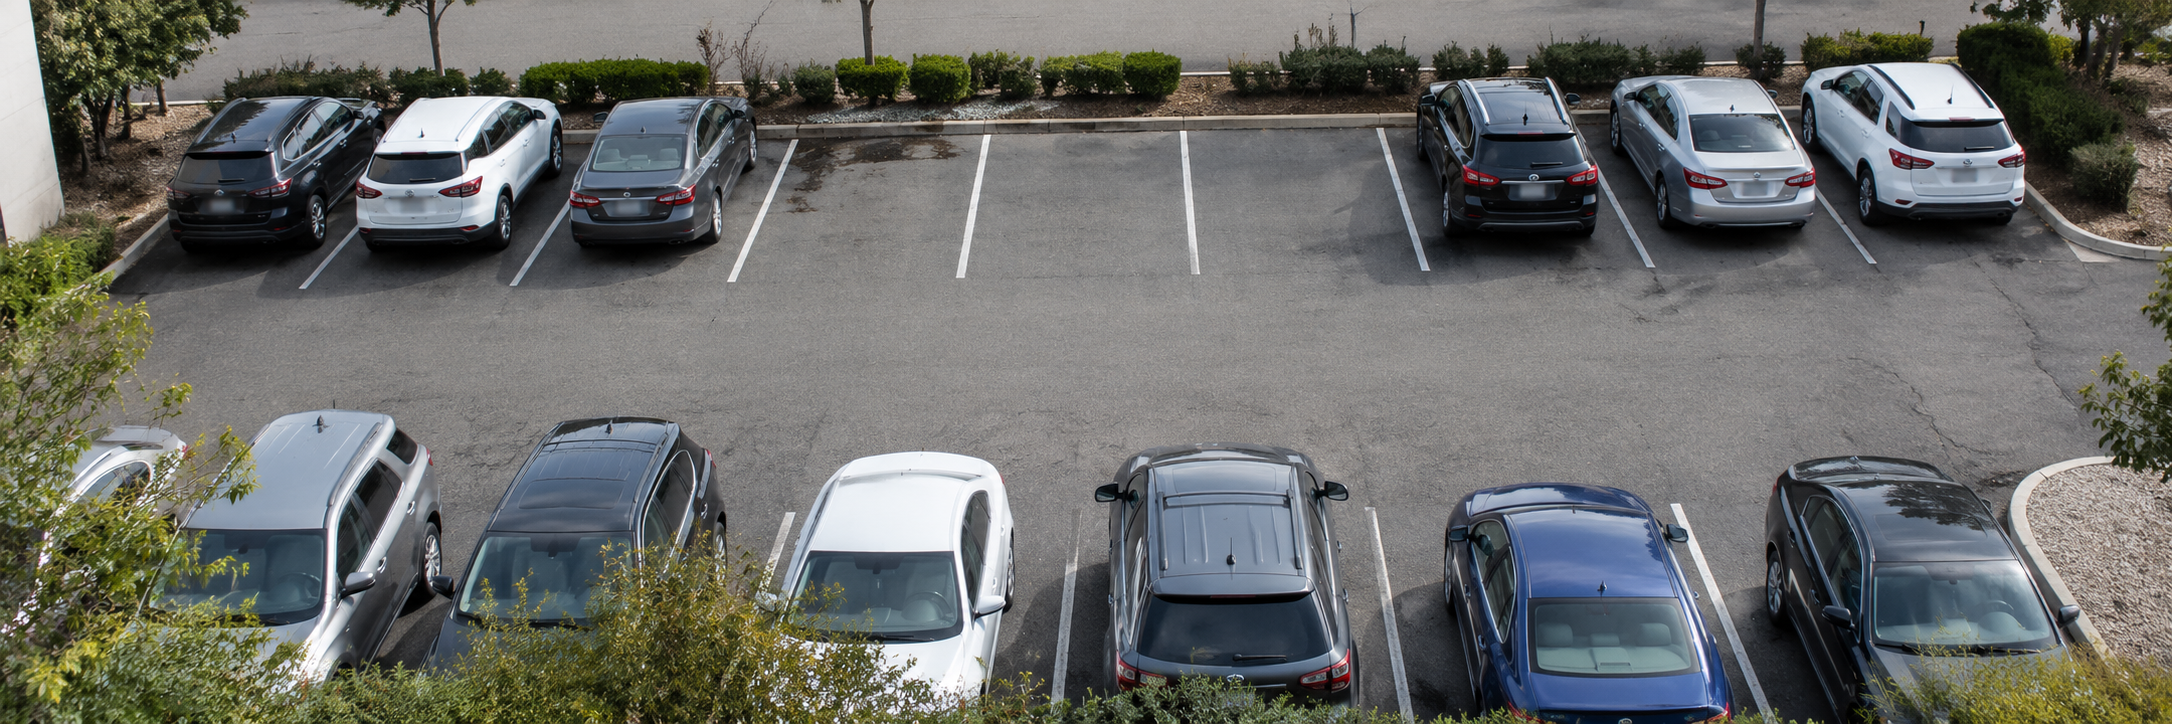
Three spaces appear free.I can see three empty marked spaces in the far row, between the parked cars.
Availability may change before you arrive. Check signs and parking restrictions on site.
Set Apify to capture every five minutes, then connect an AI workflow to count visible free spaces and record each result.
Record the capture time and visible free spaces. Mark obscured areas as unclear.
Recurring AI review needs a configured automation workflow; the MCP connection alone does not schedule it.
BEFORE YOUR FIRST CHECK-IN
You can attach and evaluate snapshots in the mobile app. Custom MCP apps currently have web-only support, so connecting Apify and invoking its tools uses ChatGPT web. Use the attachment route on your phone until your account explicitly supports mobile MCP. OpenAI’s current compatibility guidance.
An Apify schedule starts the Actor or task you configure. To review each snapshot automatically and record or send the result, connect capture to a configured Claude, ChatGPT, or Grok Bot workflow. The capture schedule and MCP connection alone do not start recurring AI analysis.
On ChatGPT web, an Apify MCP connection with task and schedule tools can help create the schedule. Ask it to identify your saved task, propose the interval and time zone, and show you the settings before creating it. Review the enabled schedule in Apify Console.
Check the actual image capture time, not just the Actor run time. Angelcam’s periodic snapshots can be up to 24 hours old. Prefer a fresh live frame when supported by the Actor, and ask your AI to flag missing or stale timestamps. Angelcam’s snapshot documentation.
Download the snapshot from the successful run and attach it directly. Ask your AI to confirm it can see the image before evaluating it. An inaccessible link or metadata-only output should trigger a request for the image.
Open the Angelcam Live Snapshot Actor on Apify, then follow its setup instructions to connect your cameras.
Budget for snapshot capture in Apify, image storage, and your AI review workflow. Costs depend on your interval, camera count, and chosen services. A five-minute schedule means 288 capture runs per day for each scheduled task. Check the Actor’s pricing and your AI provider’s usage before enabling it.
Start with one working camera, then configure and test each additional view using the Actor’s supported inputs. Keep camera names and capture times with every result so your AI does not mix locations or compare unrelated views.
Configure your AI workflow to compare the result with an earlier check and send a notification when your chosen condition is met—for example, when no parking spaces appear free. Include the snapshot and capture time. The capture schedule alone does not provide scene-based alerts.
Record the check as failed or unavailable. Do not treat an older image as a fresh result. Review the failed run in Apify Console, check the camera connection and authorization, then test again. Configure failure notifications separately from alerts about what the camera sees.
Yes, if your workflow keeps the earlier images and makes them available for review. Compare the same camera view, include capture times, and ask for visible changes. Keep a record of results; a single snapshot cannot establish what happened between checks.
Set the schedule for the days and hours you need in Apify, then choose the correct time zone. Check the next scheduled runs before enabling it, and align your AI review workflow with the same timing.
This workflow checks individual images at intervals. Events can happen between snapshots or outside the camera’s view. Use it for periodic observations and summaries, and keep any continuous monitoring or alarm system you need alongside it.
Go directly to the documentation for each part of your connection.
START WITH ONE CAMERA
Capture a snapshot. Ask your AI. See what needs your attention.
Follow the setup guide